Creative Job Hunt – Part 2

As promised, here’s part two.
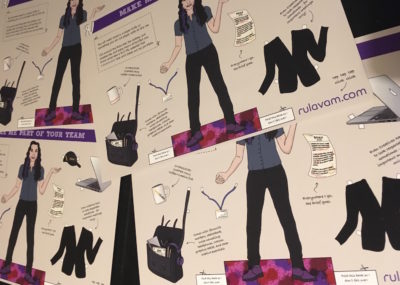
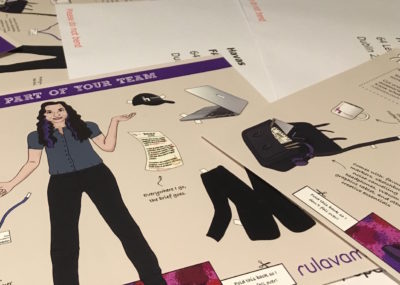
Recap: I hit a dead end with my job hunt, so a few weeks ago I decided to change my approach. I treated my job hunt as I would an advertising brief, and came up with a creative solution. I launched the ‘Rula-doll campaign’ about two weeks ago. In my previous post I wrote about the idea and the design. This post will go over the next steps.
I have really enjoyed working on this project. ‘Making things’ is one of my favourite things to do, so designing all the bits that went into this ‘creative job application’ has been lots of fun. However, the design/illustration part was just the first step, and none of that would bring any results if I didn’t get the next steps right.
It’s logistics that makes it all happen.
The Recipients
Upon starting to work on the design of this project I also began compiling the list of Advertising Agencies I was going to contact. I put them in order of priority, according to certain criteria I had set. Finding the names of the Creative Directors of each agency was probably one of the hardest tasks throughout this entire endeavour. Some agencies don’t list all their employees (or none at all) on their websites, and some are not up-to-date. I didn’t want to risk addressing an ex-employee or leaving anybody out – the aim was for each of the CDs of my selected agencies to receive an envelope.
If someone reading this feels left out, I apologise. It was not intentional.
The Printing
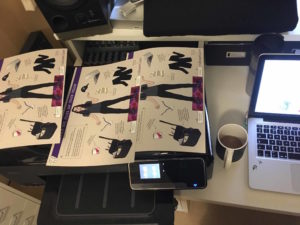
This was probably my least favourite part of this project. As said by The Oatmeal ‘Printers were sent from Hell to make us miserable‘. For various reasons I won’t go into, I decided to do the printing at home, using a good HP Inkjet printer that had the ability to do borderless printing. I did numerous test prints, to determine whether all my text was readable, and making sure the colours looked right. Being the perfectionist that I am, I read up on how to configure your InDesign project in order to get the best print result, depending on your printer. I knew very little about printing configurations and colour profiles before, other than the difference between RGB and CMYK. I know a bit more now.
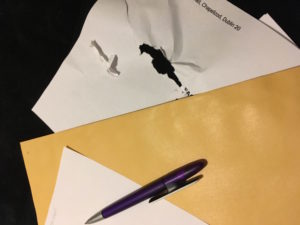
As I was trying to figure out how to print the envelopes, the cat decided she’d help me out by chewing on the test prints.
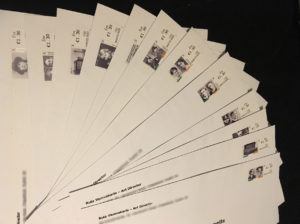
After figuring out the settings for the best possible result, I now had to work out how to print envelopes. It shouldn’t be hard, right? Especially if your printer says it can print on envelopes! After my printer smudged on most of the 20-pack of lovely manilla envelopes I had purchased, I realised (after extensive googling) that changing to non-glossy envelopes should reduce the ink smudging. I sourced some plain white paper envelopes that would fit A4 and started experimenting with them. The smudges didn’t disappear completely, but I preferred to have some smudges on my envelopes and printed addresses, rather than having my sloppy handwriting on them. It definitely looked more professional!
The Posting
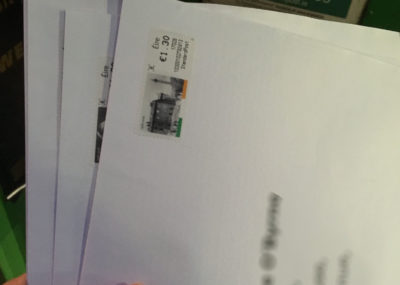
By posting I don’t mean blog posting, but rather traditional, stamp-sticking, envelope-licking (no, not really), post office posting. I decided to post my paper doll in batches. It worked out well, as otherwise I would’ve had piles of printouts with all the different logos, as well as all the individually printed envelopes lying around the place. Additionally, I was keen to start posting these babies ASAP, so I thought sending out each day’s work at the end of the day was the way to go. Mary at my local post office started giving me weird looks after my third visit, buying a considerable amount of stamps each time, and sticking them on all these white A4 envelopes. I knew she wanted to be nosy and ask what I was posting, but she hasn’t so far.
Does it work?
In terms of getting me a job, I’m not in a position to share too many details at the moment. But if you’re wondering whether the paper doll works, the answer is YES!
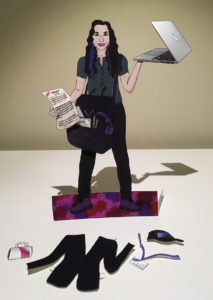
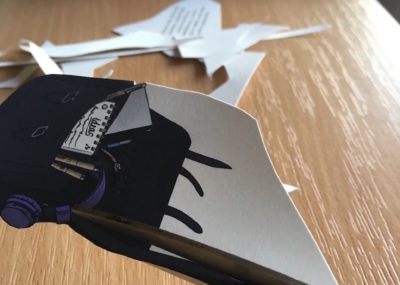
I cut out one my test prints to make sure that it did. I realised that it would probably have worked better if I had used thicker paper than the heavyweight 167 gsm that I used, as the doll would bend and fall over as soon as I attached any of the accessories. I solved this with a couple of bamboo skewers and some selotape. I also realised that the base-flaps didn’t work perfectly, so I modified the design slightly giving them an angle, helping the doll stand up. All clothes and accessories can be attached, and stay on even when the doll is standing upright.
And now we wait…
As with any job hunt this is definitely the most nerve-racking part. Fortunately, I received the first email to arrange a meeting the day after I had sent out my first batch. I was delighted! But getting the job of your dreams cannot be so easy… Can it?
I hope I have inspired you one way or another. Thanks for reading!

 Previous Post
 Next Post